Optimize Unreal Engine levels with visibility culled Stand-Ins
Written by Jesper Tingvall, Product Expert, Simplygon
Disclaimer: The code in this post is written using version 10.3.5200.0 of Simplygon and Unreal Engine 5.4. If you encounter this post at a later stage, some of the API calls might have changed. However, the core concepts should still remain valid.
Introduction
This blog will cover how to use Stand-Ins in Unreal Engine to replace distant meshes with simple proxy meshes. We will use visibility culling to cull away any geometry not visible from the player's perspective.
Problem to solve
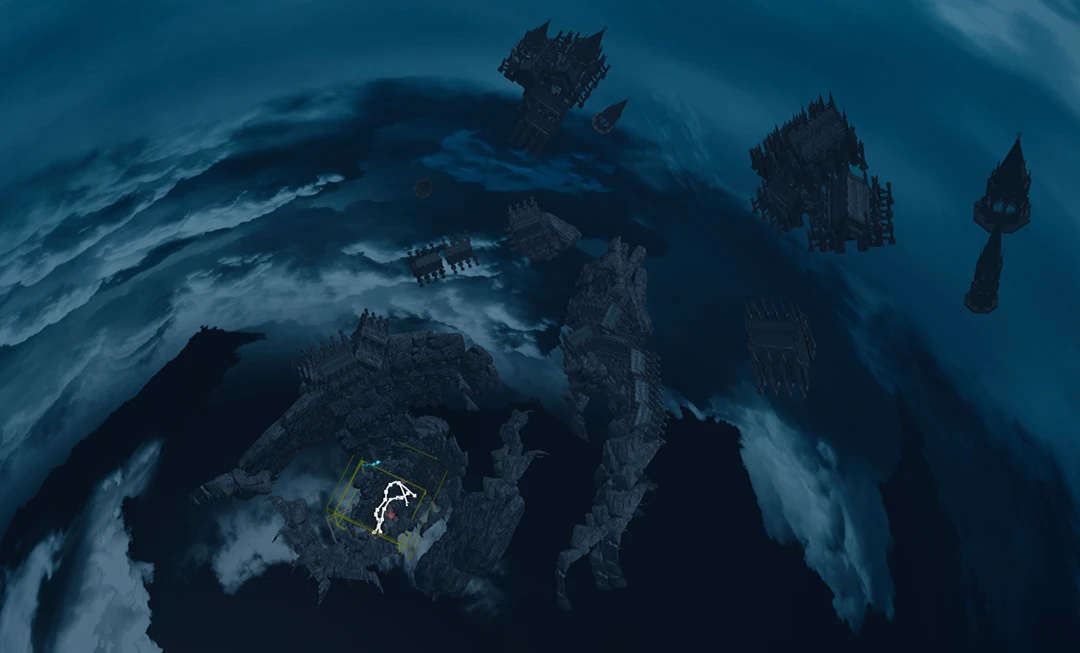
We have a Unreal Engine level which we want to optimize. The level contains distant meshes that we will never see up close. We would like these to be replaced by cheap proxies. The scene is rendered using traditional rendering techniques.
Prerequisites
This example will use the Simplygon integration in Unreal Engine 5. It is applicable to Unreal Engine 4 as well.
Stand-Ins and Nanite Virtualized Geometry
If you are rendering your game with Nanite Virtualized Geometry then small triangles and triangle count is less likely to be the bottleneck. However, there are more things that can impact performance that can be solved with Stand-Ins.
- Remove overdraw of closely stacked surfaces by using remeshing, geometry culling or visibility culling.
- Reduce runtime memory usage of unique distant meshes by replacing them with cheap proxies.
With Simplygon's updated remesher it is possible to create very dense Stand-Ins meshes that works well with Nanite. But you must keep in mind that dense unique meshes comes at memory and disc cost.
Solution
We will replace the distant meshes with simple proxy meshes using Simplygon's Stand-Ins tool.
Create Stand-Ins
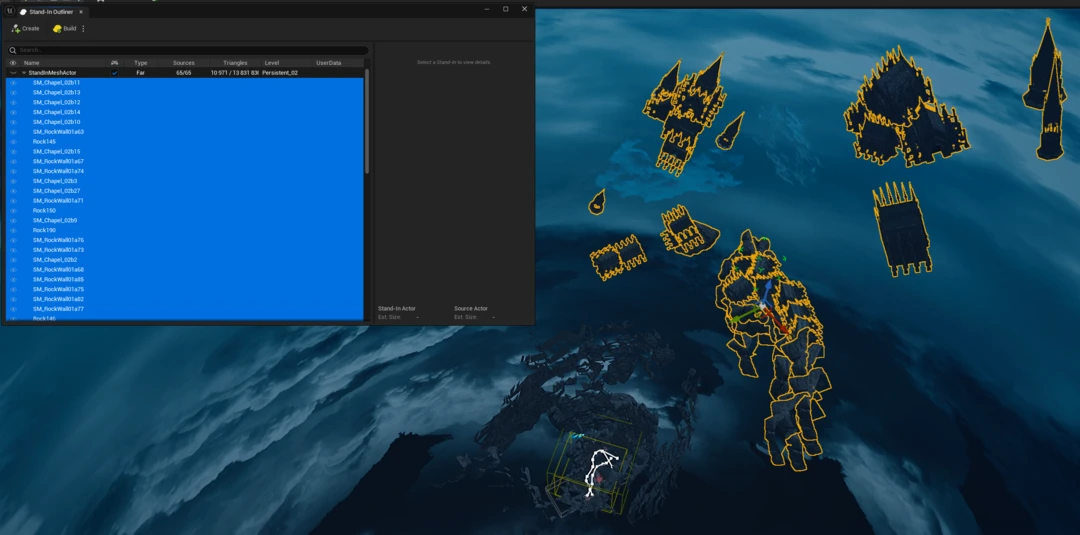
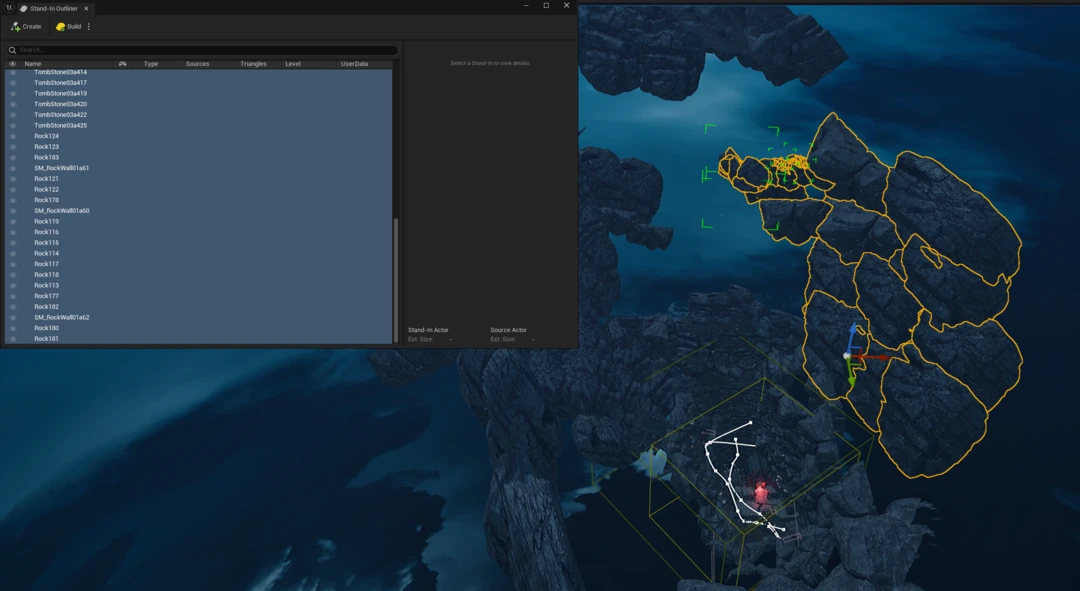
The Stand-In outliner can be opened from Window → Stand-In Outliner.

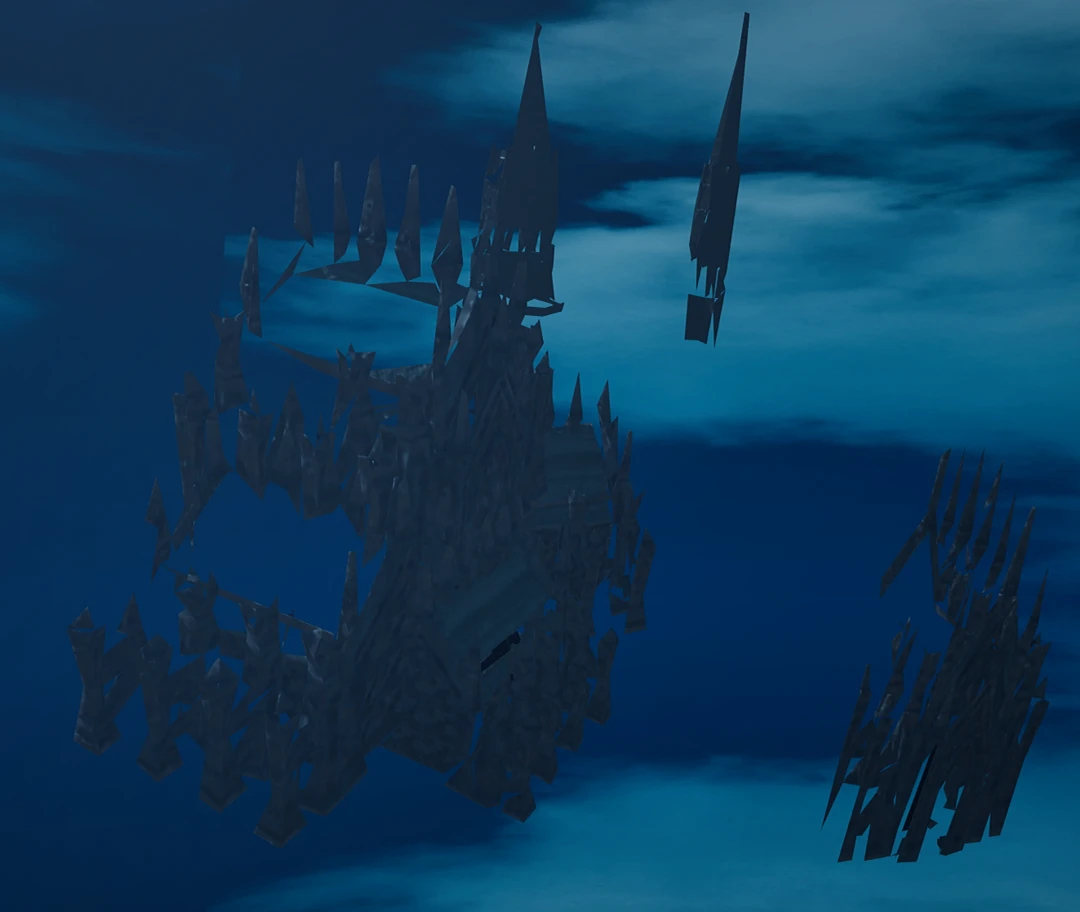
We can then select groups of models and click Create to create a Stand-In. We will create three Stand-Ins corresponding to the three different clusters of distant assets in out scene.
Once we have created our Stand-Ins we need to assign which pipeline to use. There are three types of Stand-Ins:
- Near Stand-Ins are intended to be used at a shorter distance and uses aggregation pipeline.
- Far Stand-Ins are intended for faraway background Actors and uses remeshing pipeline.
- BillboardCloud Stand-Ins are intended for medium- to faraway actors and uses billboard cloud pipelines.
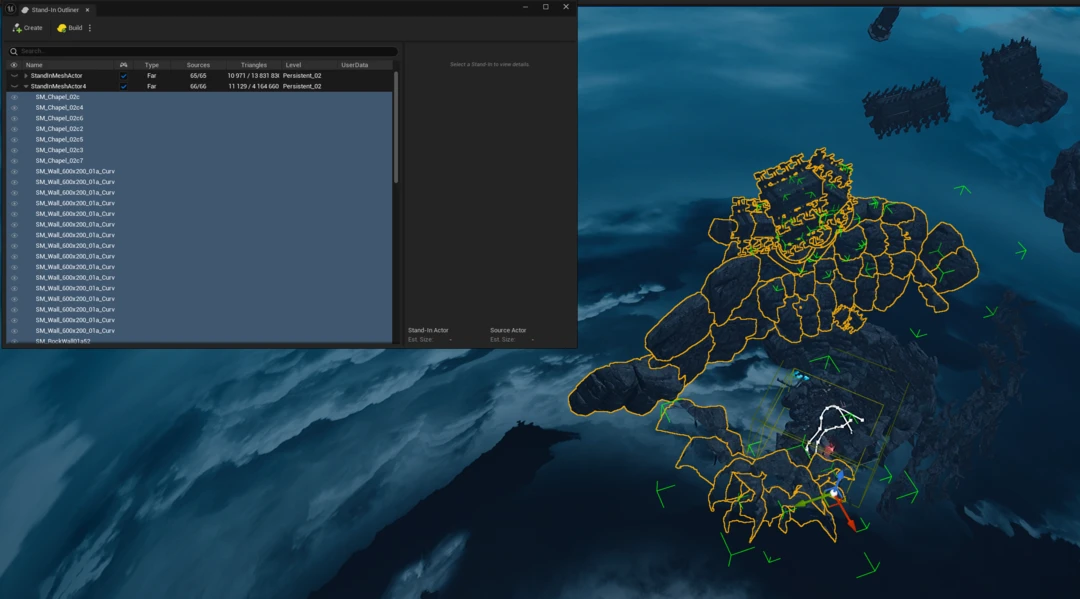
In our case we want to optimize distant actors so we pick the far pipeline. The quality is determined by OnScreenSize. We also add material casters corresponding to the channels in our materials; Base Color, Normals, Metallic and Roughness. We use screen size 600 for Stand-In 1 and 3. Stand-in 2 gets a OnScreenSize of 1000.

Once that is done we can process the Stand-Ins by clicking Build.
Visibility culling
After building the Stand-Ins we notice that some of the assets now are double faced. This is because the remesher always create a watertight output mesh. So if our input only has one side, it will have 2 sides after optimization. This can be solved in two ways. First contender is geometry culling which is often used for models intersecting the landscape. In our case the model is floating in the air, so we will go for the second option which is visibility culling.

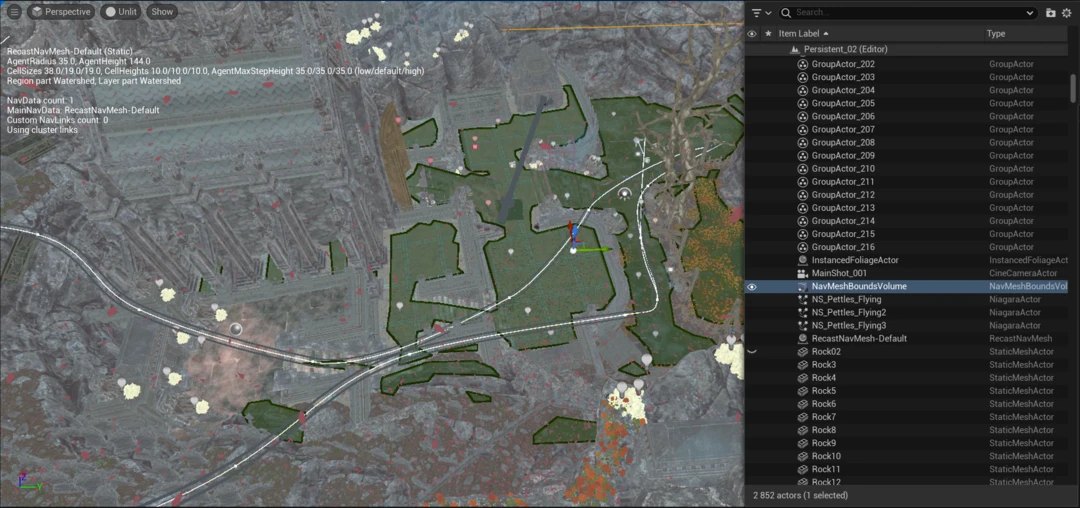
Visibility culling uses cameras scattered in the game world. In Unreal Engine Simplygon can use the navigation mesh to scatter these in the game world. We add a Nav Mesh Bounds Volume to the game world.
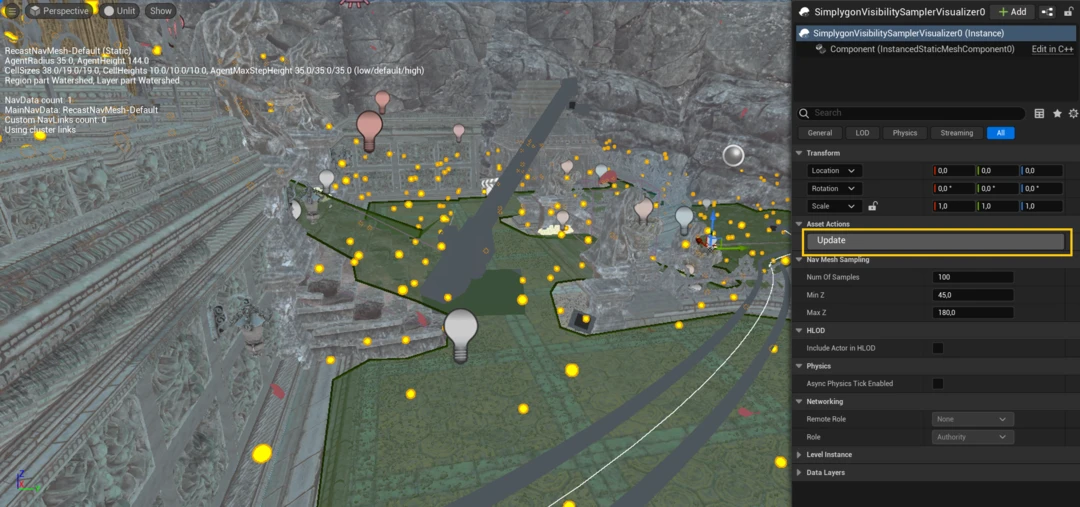
After that we add a SimplygonVisibilitySamplerVisualizer by selecting Simplygon → NavMesh Samples.

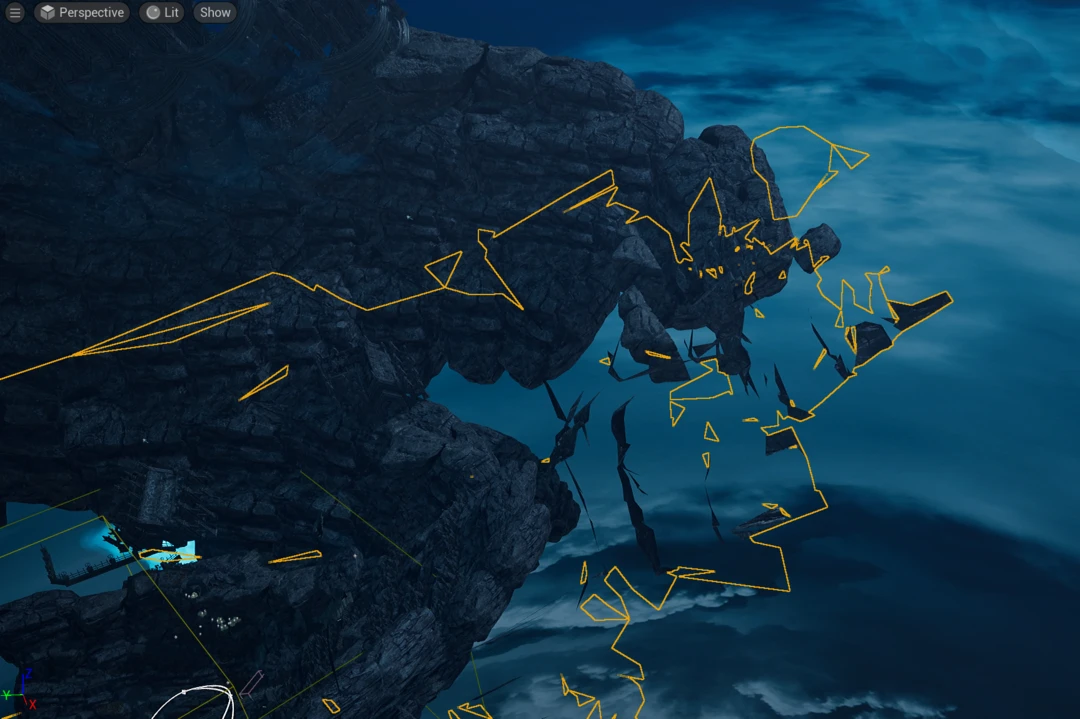
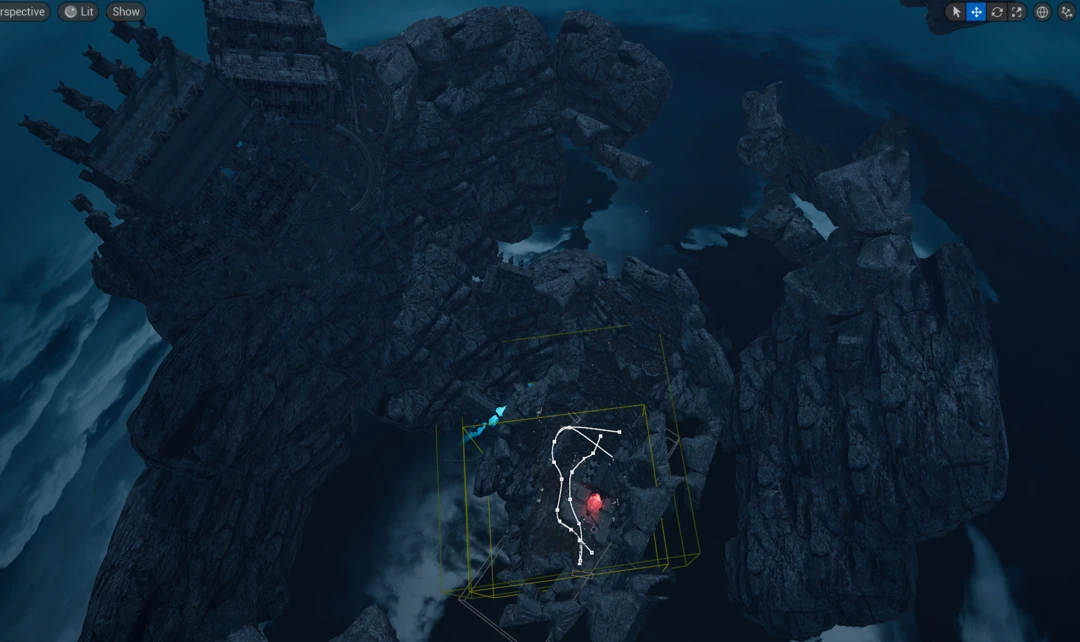
This actor is responsible for creating cameras by sampling the NavMesh. To generate samples we click Asset Actions → Update. We can now see lots of yellow camera samples in our scene.
We can now in our Stand-Ins enable Cull Occluded Geometry found under Visibility Settings. We rebuild our stand-ins.
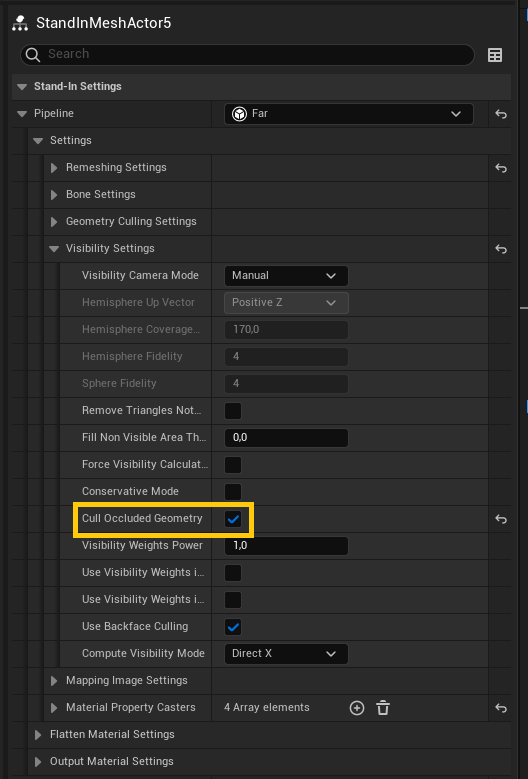
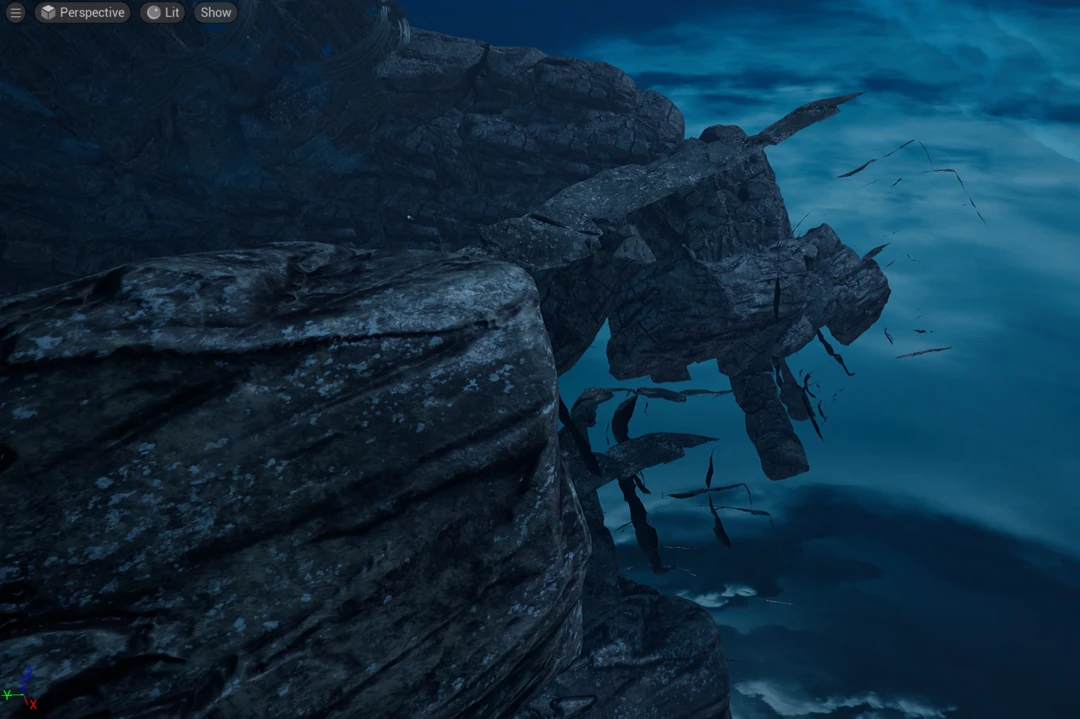
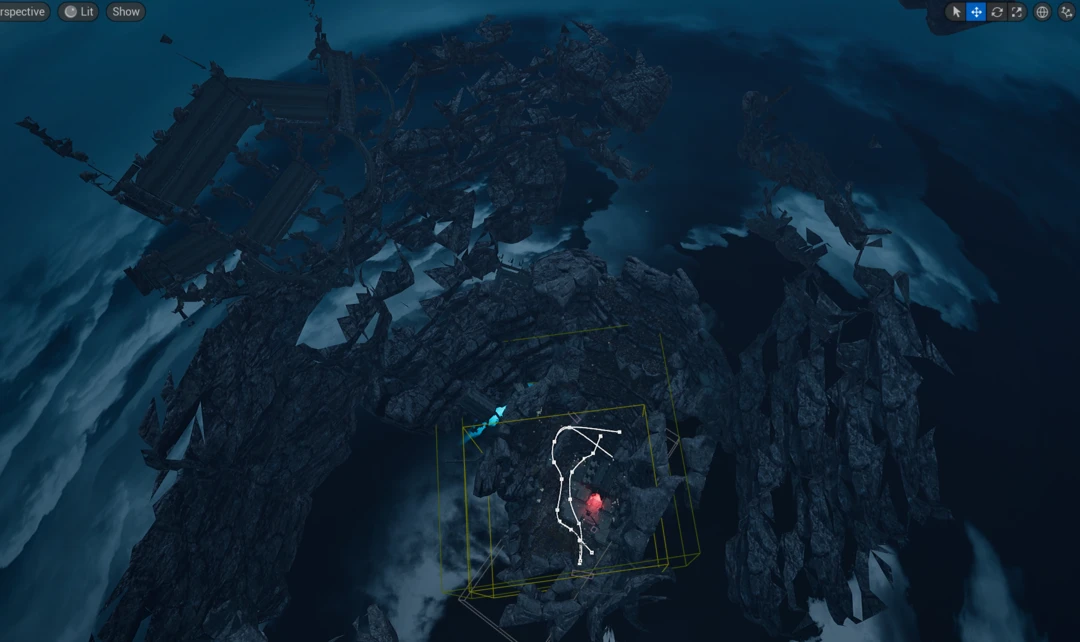
After enabling visibility culling we can see that the mesh is no longer two sided, and a lot more of the mesh has been culled away.
Double sided shadows
After using adding visibility culling on our scene we notice that one of the Stand-Ins are much more bright then the original.

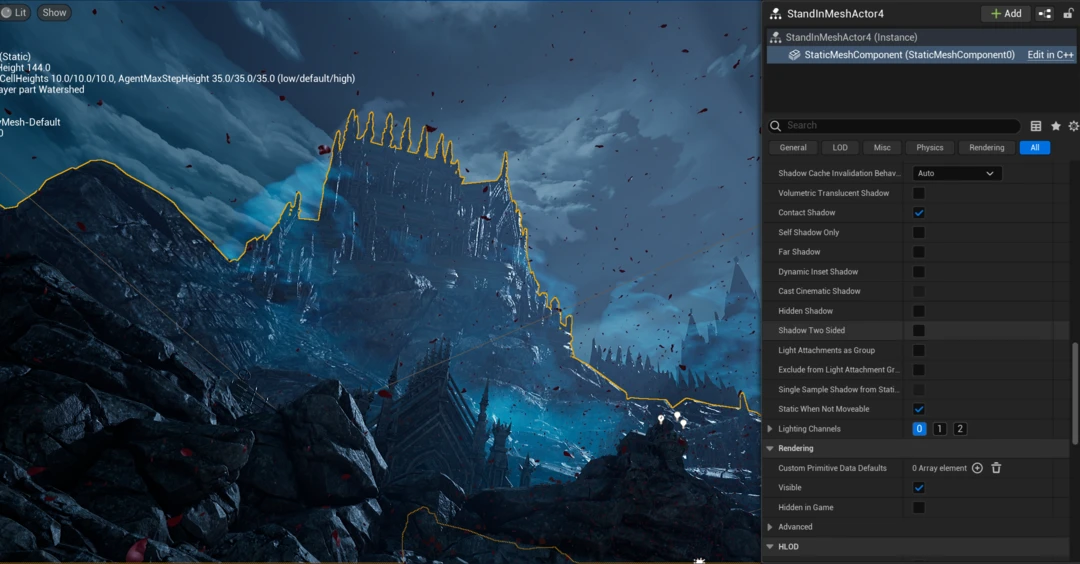
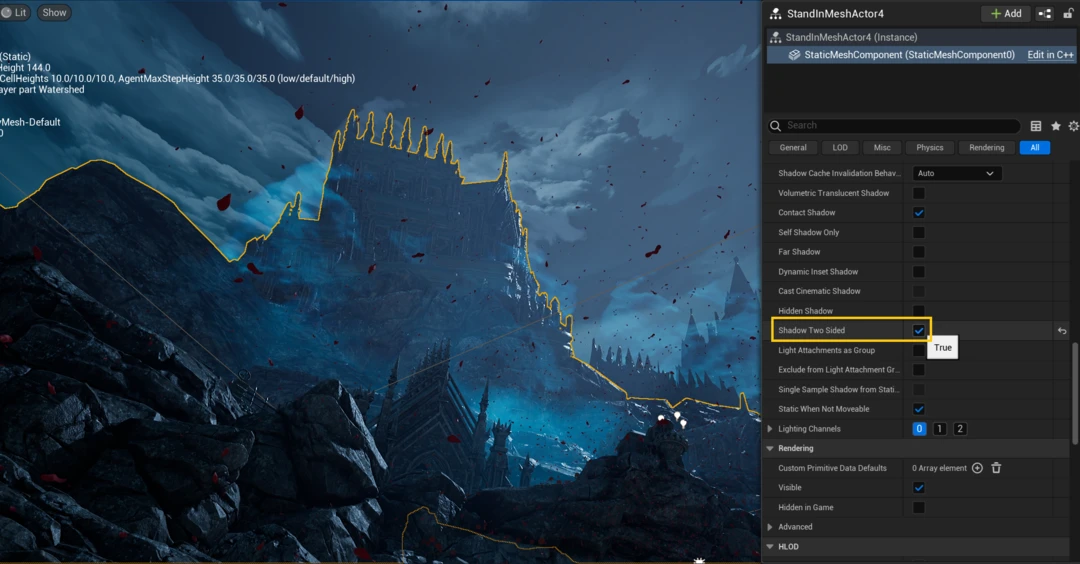
This is because we have removed a lot of the triangles from the Stand-In that, while not visible, still casted shadows on the visible geometry. We can decide that this is not a big issue, since we will not see a LOD pop between original and optimized model. Another way to solve this in some cases is by enabling under Lighting → Advanced → Shadow Two Sided. Now light that hits a back face on our stand-in also casts a shadow. With this enabled our stand-in looks much closer to original.
Result
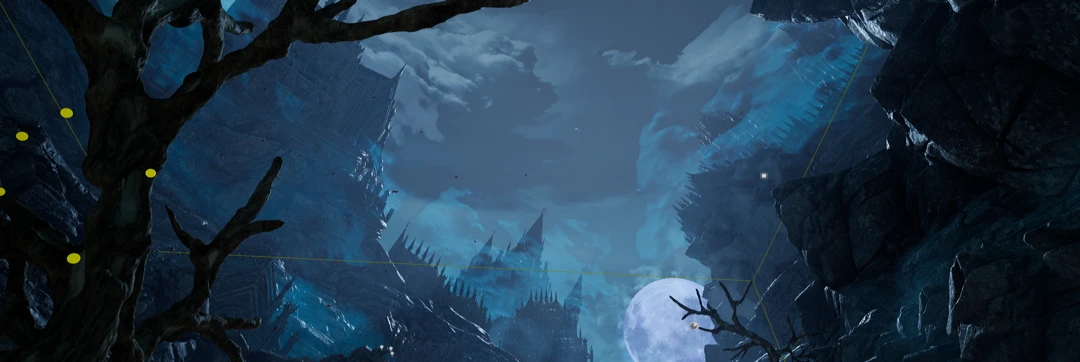
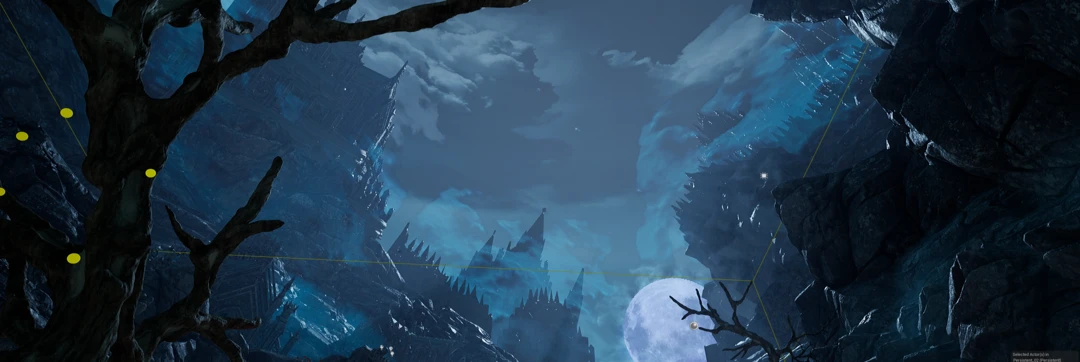
Let us start by inspecting the scene from the view of the player. It looks very similar to the original view. We have some minor visual differences, but it does not matter as we will never switch between the original scene and the optimized one. The player will never see how the original scene looked, so we can be quite aggressive with how we optimize the scene.
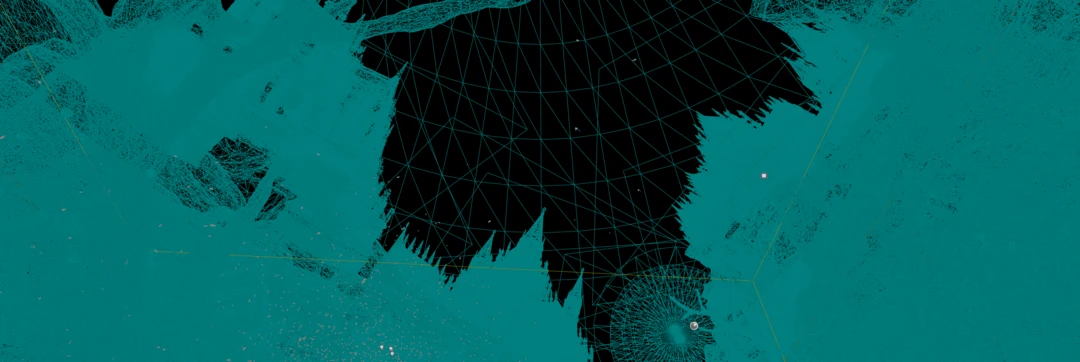
If we compare the wire frame we can see that in our optimized scene the distant objects are much less dense.

A top down view showcase that visibility culling have removed a lot of triangles never visible to the player.
Lastly we can inspect the most distant actors. Here we can see that we gone form a highly detailed model to a simple proxy model intended to only be viewed from one direction.

Let us compare what we saved with replacing our distant meshes with Stand-Ins.
| Stand-In group | Original triangle count | Stand-in triangle count |
|---|---|---|
| Standin 1 | 14 M | 11 k |
| Standin 2 | 4 M | 11 k |
| Standin 3 | 779 k | 3 k |
Replacing the distant meshes with Stand-Ins has saved almost 19 million triangles. This should give a welcome performance boost.