Customize your Simplygon pipelines
Written by Jesper Tingvall, Product Expert, Simplygon
Disclaimer: The code in this post is written using version 10.1.11000.0 of Simplygon. If you encounter this post at a later stage, some of the API calls might have changed. However, the core concepts should still remain valid.
Introduction
This blog will cover how to customize your Simplygon pipelines in 3ds Max, Maya, Unity and Blender. Customizing pipelines allows you to share presets for different kinds of assets with your team. Defining pipelines for different asset categories can be seen as a step to fully automating your asset pipeline. This is a companion blog to our YouTube tutorial Customize your Simplygon pipelines.
Problem to solve
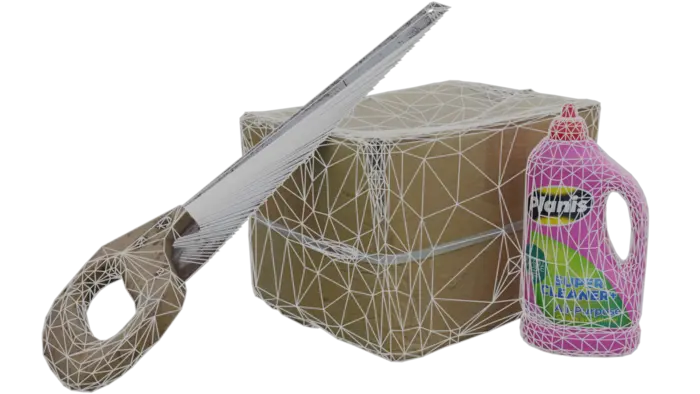
We want to develop a game containing lots of assets made by different artists. While going fully automated is a great idea we are not ready for that at this point due to time constrains or workflow issues.
The problem we face is that Simplygon is a quite complex tools and not everyone using it is an expert. Hence we get varied results from our optimization.
Solution
This blog will showcase how to use our pipelines files to allow experts to create pipelines that everyone else in the project can benefit from. This means that you can get consistent result for your different assets as well as improve the workflow for artists.
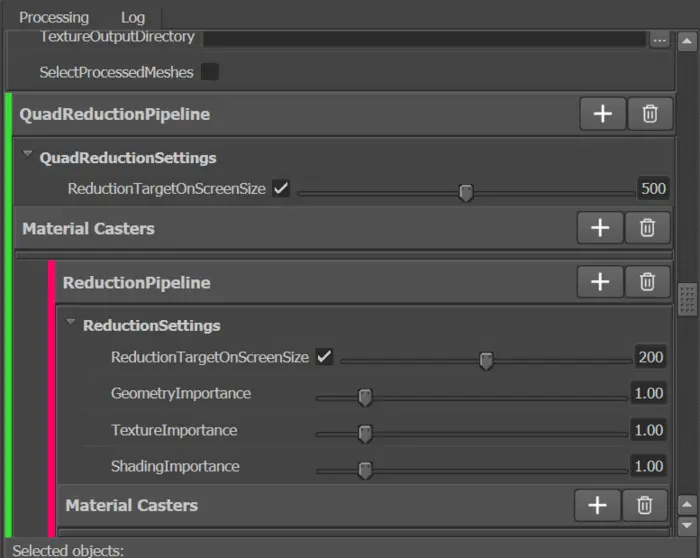
The pipeline we will create is one for small props. The meshes are made out of quads so the first step, LOD1, will use our quad reducer. For lower screen sizes we will get better result from our ordinary triangle reducer so we will use that one for LOD2 and LOD3.
The LOD chain we create has the following settings. Every other setting is default.
| LOD | Pipeline | Default screen size |
|---|---|---|
| LOD1 | Advanced quad reduction | 500 pixels |
| LOD2 | Advanced Reduction | 200 pixels |
| LOD3 | Advanced Reduction | 50 pixels |
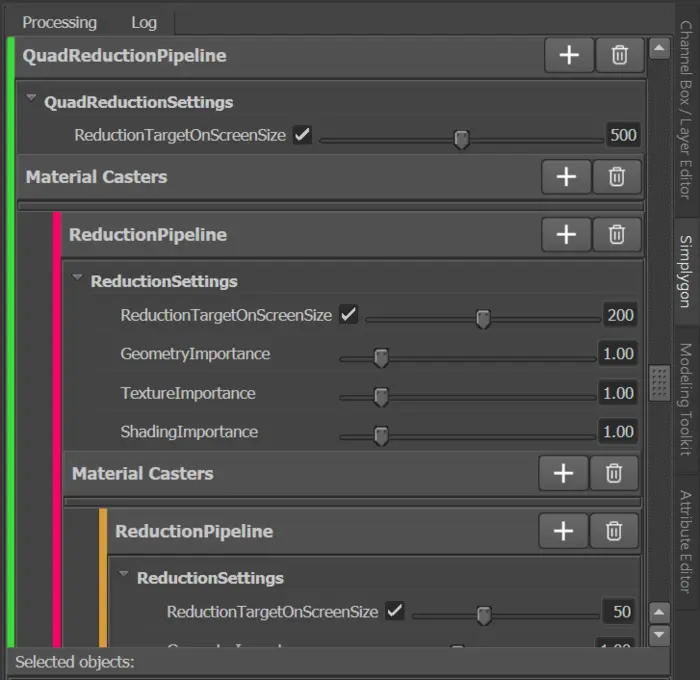
We use cascaded pipelines where each LOD step are build from the previous one.
Saving and sharing pipelines
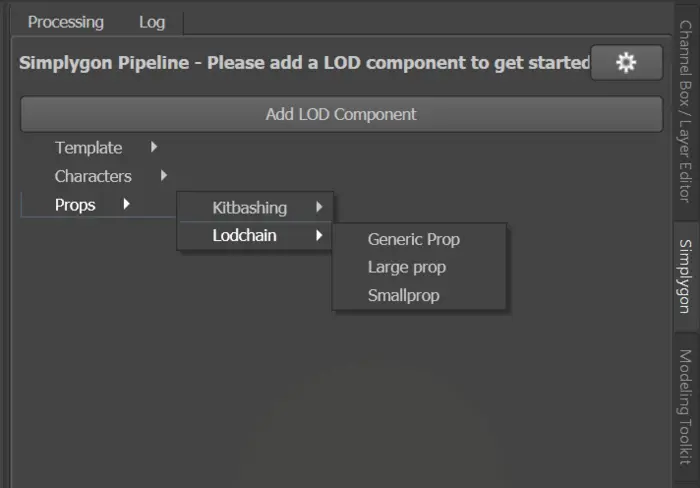
We can save this pipeline to file by clicking the gear icon then pick Save pipeline. Simplygon will search for pipelines located in %SIMPLYGON_10_SHARED%/Pipelines. If we save it into this folder it will be accessible in the menu we get when we click Add LOD Component. We can save it into subfolders to organize this menu.
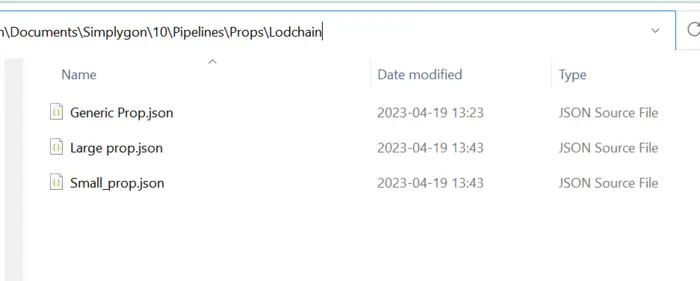
Resulting menu from file structure.
To make it easy to share pipelines with team you can set the %SIMPLYGON_10_SHARED%/Pipelines environment variable to a path in your project repository or a shared network drive. That way your team members always have access to all pipelines.
Edit pipeline in user interface
We can now easy access shared pipelines for different kinds of assets. However the pipelines can still be very complex if the artist wants to adapt it to the current object they are working on it is not clear which parameter to change.
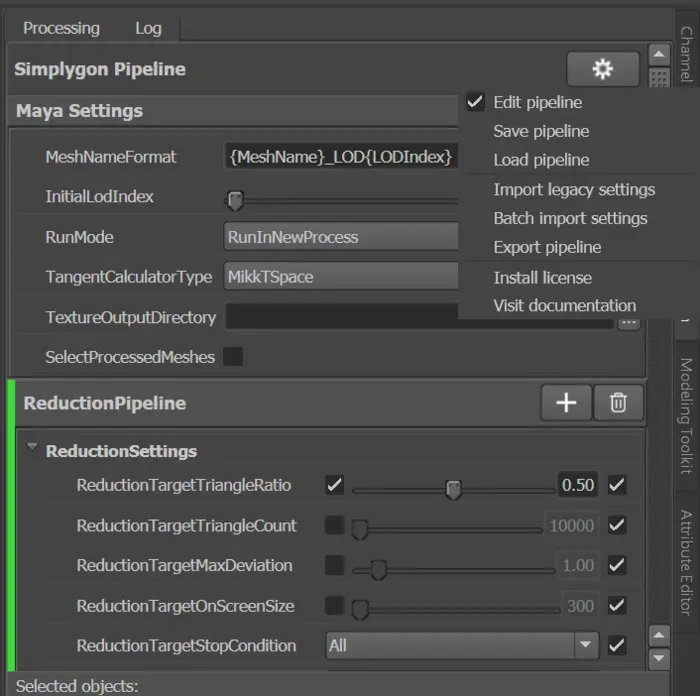
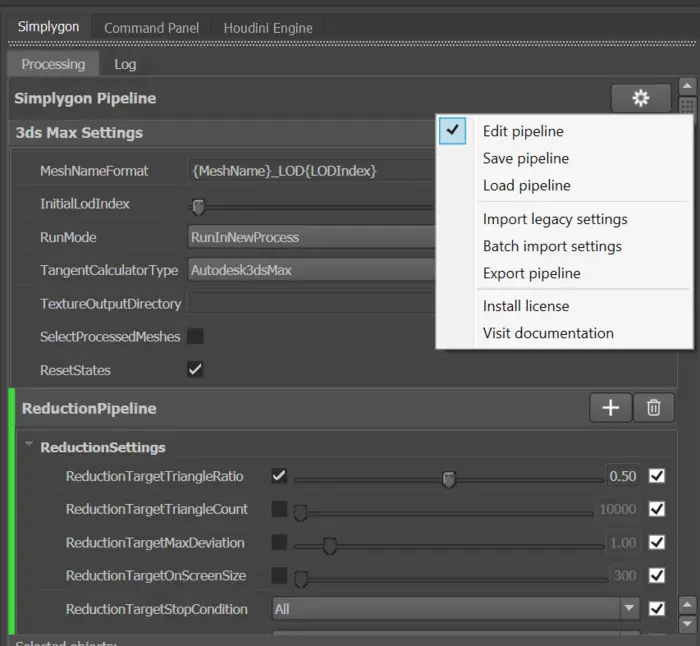
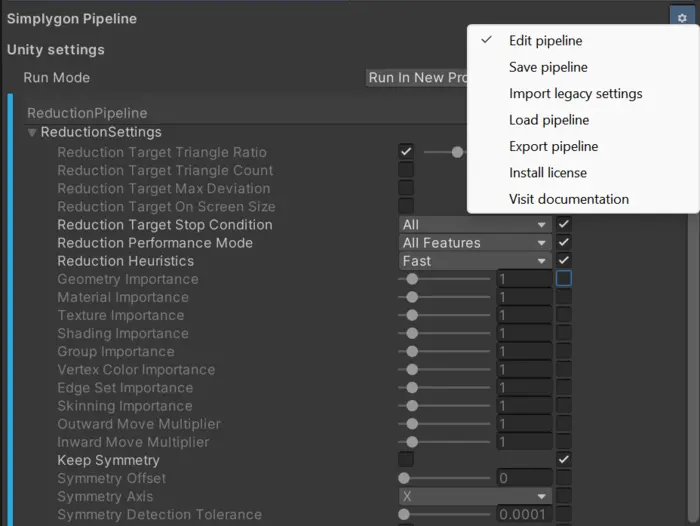
In Maya, 3ds Max and Unity it is possible to edit the pipeline via the user interface. To enter edit mode click the gear icon up to top right and choose Edit pipeline.
Maya
3ds Max
Unity
The checkbox to right of every setting determines if i should be visible or not in the pipeline outside of edit mode.
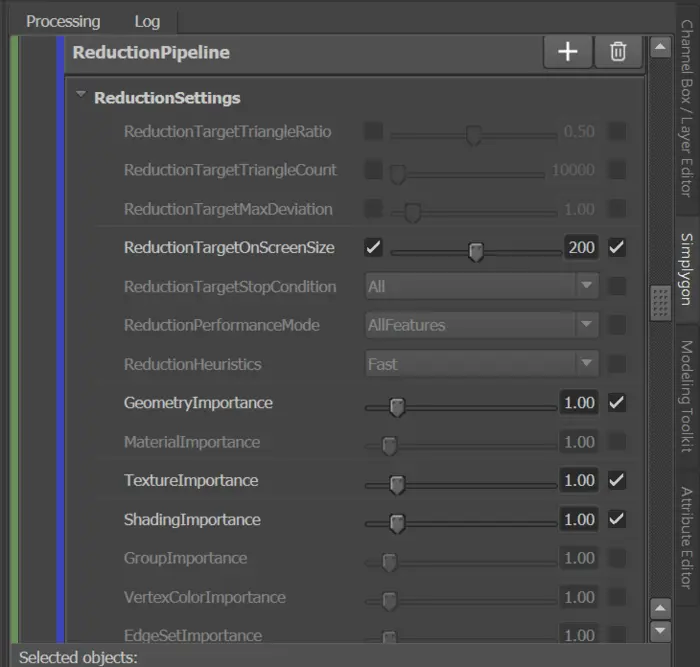
After editing you can save the pipeline down to a file by clicking the gear icon and choose Save pipeline. If you now load that pipeline again you will see that we are only showcasing the settings which we want the users to poke around at. We will hide every setting except OnScreenSize and geometry, texture and shading importance. In most cases we do not expect users to need to change importances of different settings and default values should work fine, but it serves as a good example in this case.
Edit pipeline in text editor
We now have a pipeline which only displays the values we expect the users to change and has hidden good values for all other settings. However, it is still possible to set strange values. We could for example set LOD1s screen size to 100, then LOD2s to 400. This makes no sense and we want to lock down the pipeline even further.
We will now open up the saved pipeline file in a text editor. Here you can change both default value and if the property should be visible in the user interface. For example changing MergeGeometries to true sets so the reduction pipeline always merges the geometry, and the user can not change it.
"MergeGeometries": true,
"MergeGeometriesUI": {
    "Visible": false
},
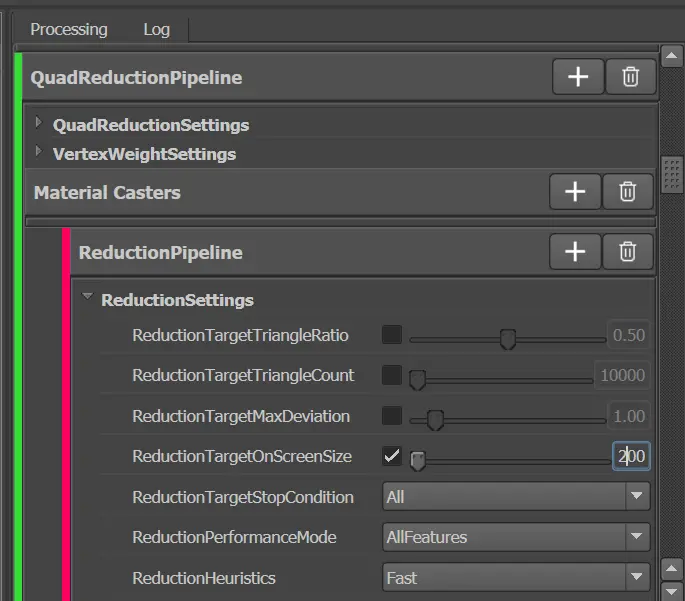
For properties can also have sliders. For example TargetOnScreenSize. Here we can not only change the default value and if it should be visible or not in the user interface. We can also specify between which values it is allowed to be and what tick it should increase by. It is good practice to ensure your pipelines can not have parameters with way to large or small values.
"ReductionTargetOnScreenSize": 500,
"ReductionTargetOnScreenSizeUI": {
    "Visible": true,
    "MinValue": 400,
    "MaxValue": 600,
    "TicksFrequencyValue": 10
},
The settings above give us following user interface.

Custom Blender pipelines
It is possible to make custom pipelines for Blender by editing a pipeline json file. But we do not have support for doing this via the user interface nor do we automatically populate the Add Component menu with pipelines found in the Pipelines folder.

Word of caution on sharing pipelines
Sharing pipelines between different DCC tools and game engines can cause problems. Some default values in a pipeline are set to work with a specific integration. This is specifically true for material casting where every tool has its own names for material channels. It is also possible that the pipeline is not supported in that integration. For example it is not possible to export a quad reduction pipeline from Maya and use it in Unity as all meshes are triangulated within Unity.
Our recommendation is to not share pipelines between different integrations.
Result
Our final small prop pipelines has the following allowed values. We never let a LOD further away from camera have a screen size larger then potential minimum screen size of a LOD closest to the camera.
| LOD | Pipeline | Default screen size | Min screen size | Max screen size |
|---|---|---|---|---|
| LOD1 | Advanced quad reduction | 500 pixels | 400 | 600 |
| LOD2 | Advanced Reduction | 200 pixels | 100 | 300 |
| LOD3 | Advanced Reduction | 50 pixels | 20 | 100 |
We can share the resulting pipeline with our artists and be confident that they will generate LODs that is suitable for the different distances in our game, while giving them the ability to tweak quality up an down within reason if needed.
A natural next step after defining all settings in a centralized manner would be to investigate how to automatically run optimization of the assets without someone having to click around in the user interface. A good next step is to read our blog automatic your asset pipeline.