How to find correct settings for Billboard Cloud: Outer shell
Written by Jesper Tingvall, Product Expert, Simplygon
Disclaimer: The code in this post is written using version 10.4.232.0 of Simplygon and Blender 4.2. If you encounter this post at a later stage, some of the API calls might have changed. However, the core concepts should still remain valid.
Introduction
Billboard clouds can be a lifesaver for assets where neither reduction nor remeshing works. In this blog we will cover how to find good optimization settings for a Billboard Cloud: Outer Shell impostor.
Another good source of information is this blog on Billboard cloud mode: Outer shell.
Prerequisites
This example will use the Simplygon integration in Blender, but the same concepts can be applied to all other integrations of the Simplygon API. If you run it in other integrations you need to change the material casting settings as described in this blog.
Problem to solve
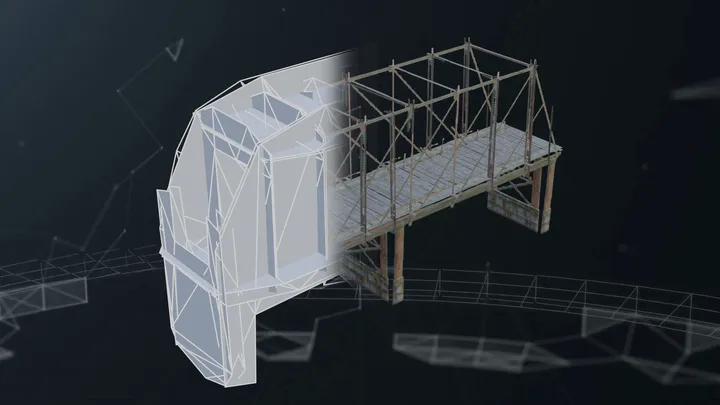
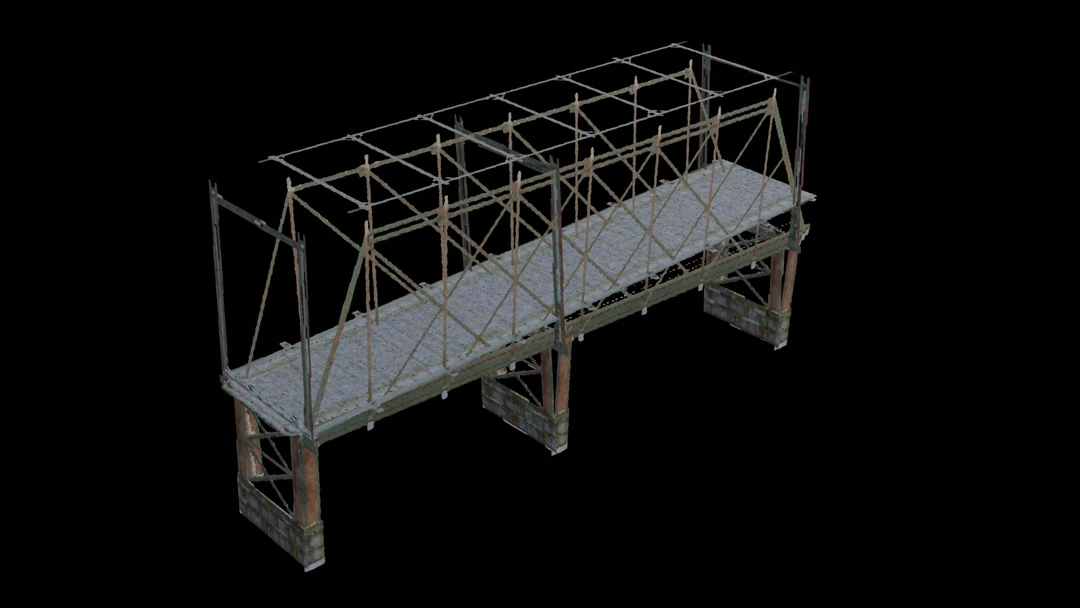
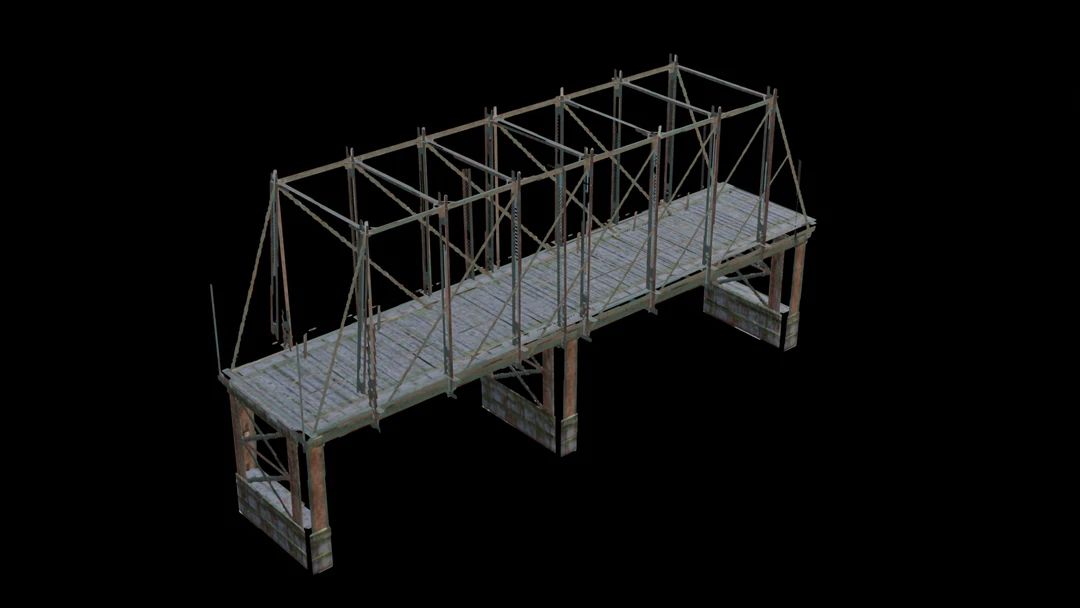
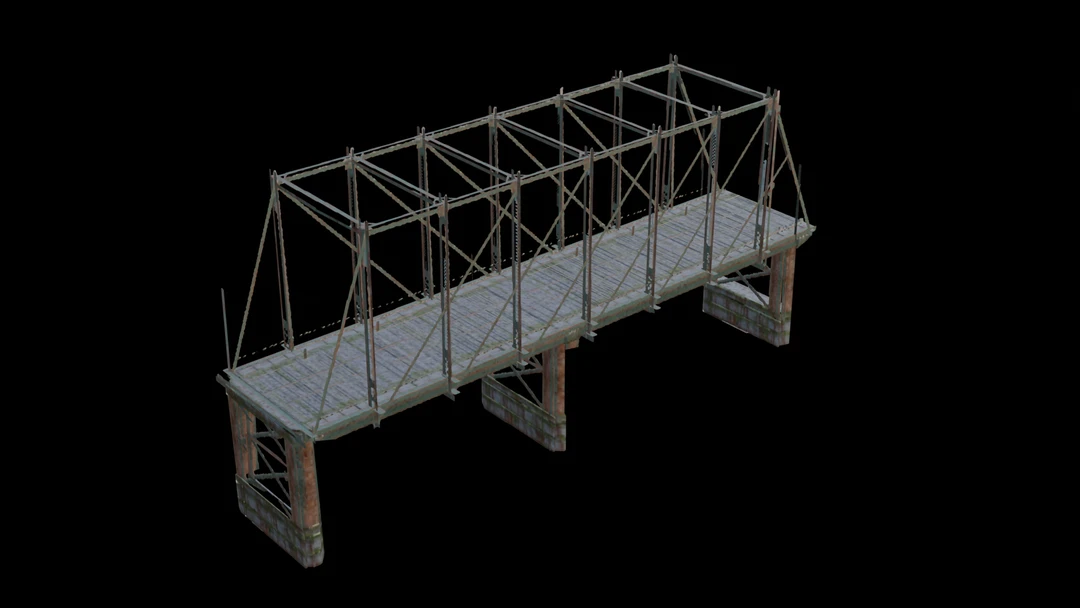
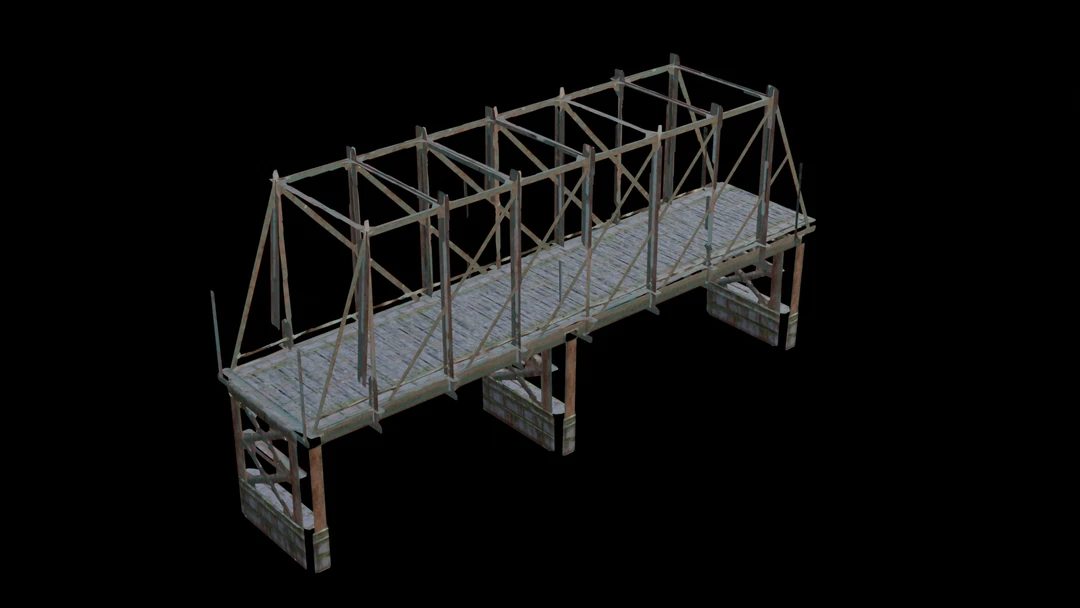
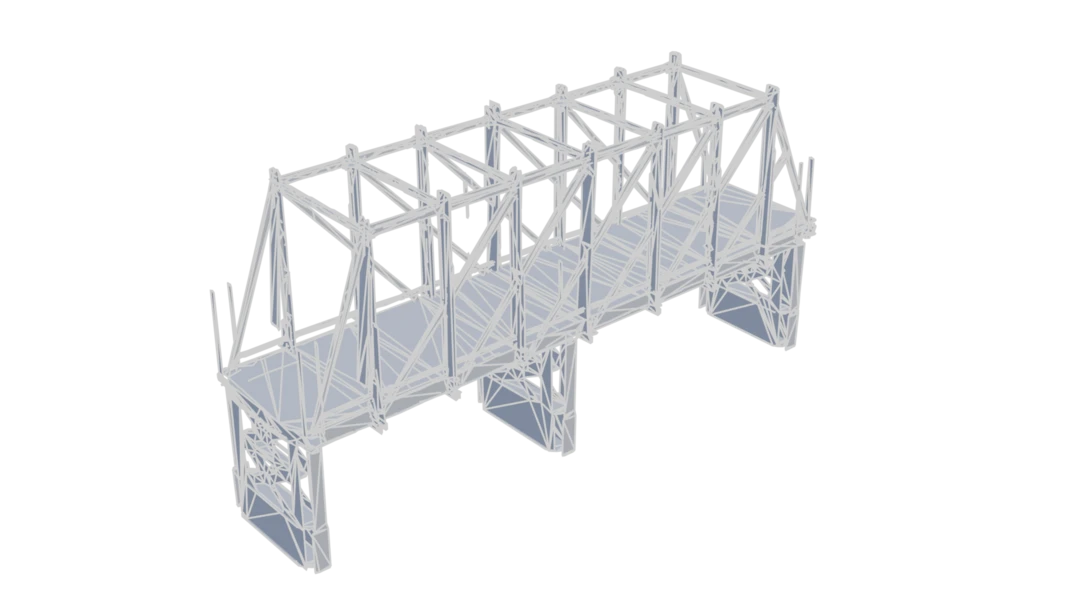
We want to optimize a model down for distant viewing. The asset is a bridge which consists of steel beams.
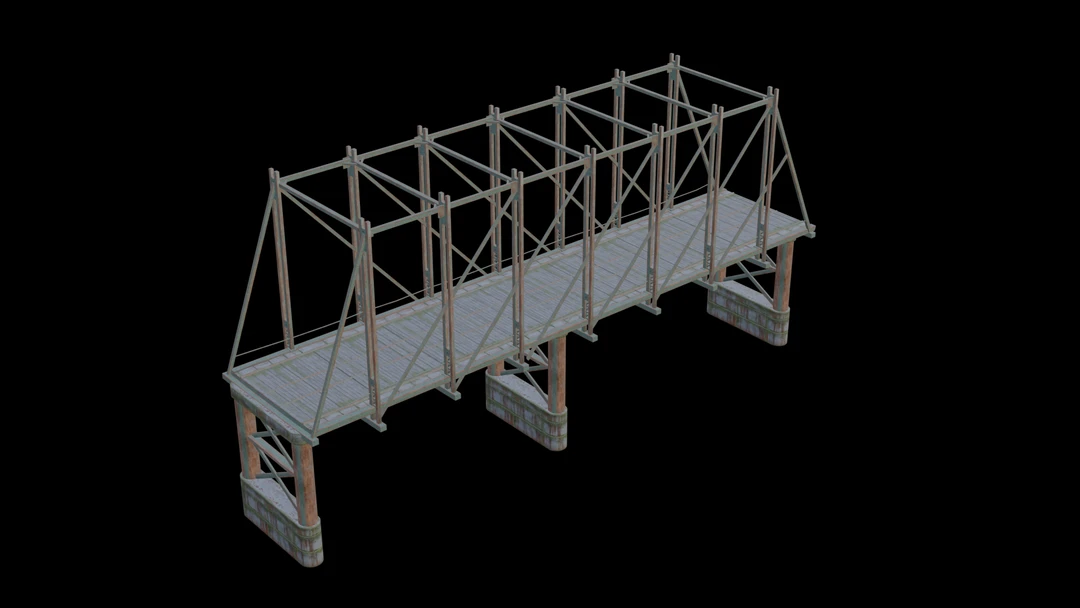
The model is loosely connected, contains lots of holes and thin geometry making it tricky to optimize with triangle reduction or remeshing.
Trying with triangle reduction
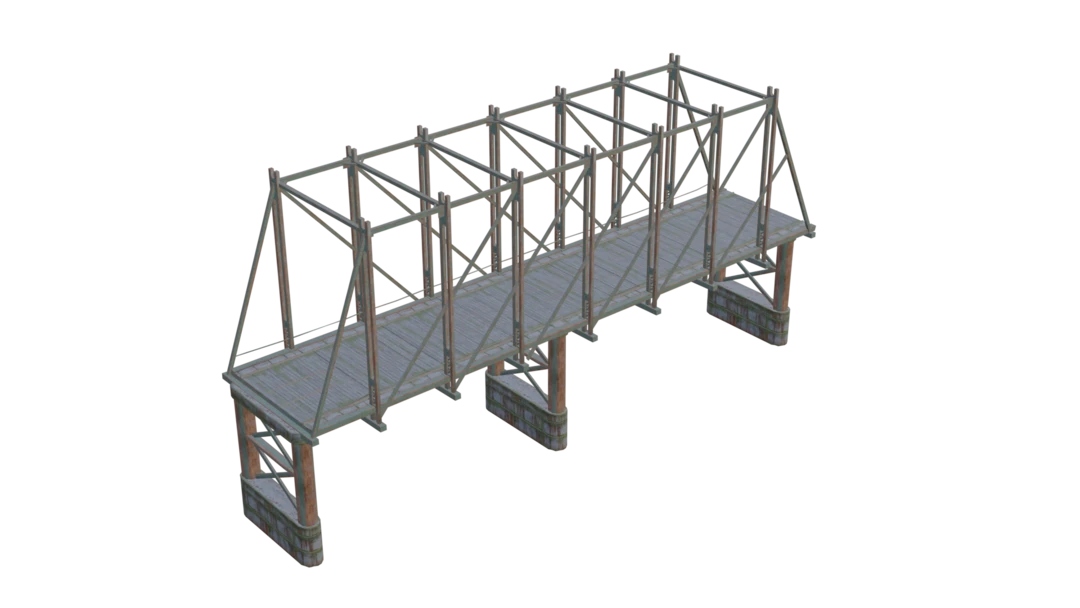
Triangle reduction works well if we just want to optimize it a little bit. Here we have optimized it to 50% of the original triangle count. The asset still looks very good. We can use triangle reduction for LOD models closer to the camera.
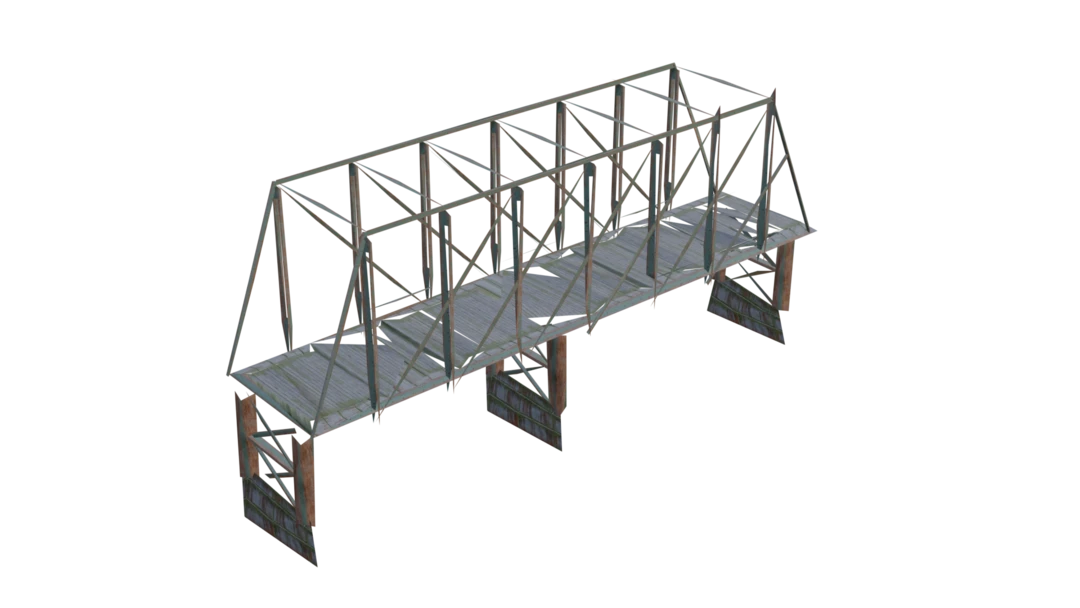
But if we try to optimize the asset to a low triangle count, in this case 1000 triangles, it starts to break apart. If we go even lower it gets reduced to a mess.
Remeshing
Normally this is where we would suggest switching over to remeshing. But with this asset it does not work that well. When we process it we can see that thin geometry gets more bloated. We can also see some black spots on the resulting texture; those are areas where the mapping image has found no match in the original geometry.
The lower the screen size we target, the more bloated the geometry becomes. Here it is at 20 pixels. We enabled alpha clipping so we get transparency instead of black spots. But the proxy model does not look good even with that enabled.
So if both reduction and remeshing do not work, what do we do?
Solution
Let's try to use Billboard cloud and see if we can beat reduction and remeshing. Billboard cloud comes in two flavors:
- Foliage is the most common. As the name implies it is made for foliage assets. It aims to maintain the visual perception of depth and volume regardless of view direction.
- Outer shell will place the billboards along the outside of the model. This is mostly used to optimize man-made objects with hard edges rather than chaotic models of natural origin.
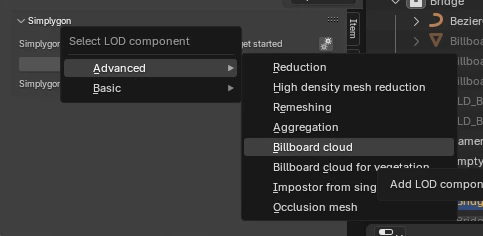
It can be hard to know which billboard settings to adjust to get the desired result. In the next section we will go through step by step how to find ideal settings for our asset. We will use an Advanced Billboard Cloud pipeline to optimize our asset.
Max plane count
We start by increasing MaxPlaneCount to a large number, in our case 50. Increasing this parameter will give the algorithm more freedom with how to optimize the mesh, and in the end give us a better result. The algorithm also uses BillboardDensity to determine when to stop creating new planes, so we will only in rare cases get the specified large number of planes.
We suggest only setting MaxPlaneCount to a low number if you want to tightly control the impostor mesh. For example, if you want to enforce an impostor for a decal to just be a single plane or a few directions. Here we set MaxPlaneCount to 4, BillboardDensity is 0.2 and GeometricComplexity is 0.5.


Billboard density
The next setting is the most important setting for controlling quality, BillboardDensity. It determines how close the planes can be to each other. It inversely determines the maximum projection deviation from original geometry to planes. Increasing billboard density results in more planes that fit the geometry closer. A low billboard density gives a large projection volume for each plane, resulting in few planes where lots of geometry is assigned to each plane.

We'll try some different values for billboard density. In all variations the MaxPlaneCount is set to 50 and GeometricComplexity to 0.5.
Geometric complexity
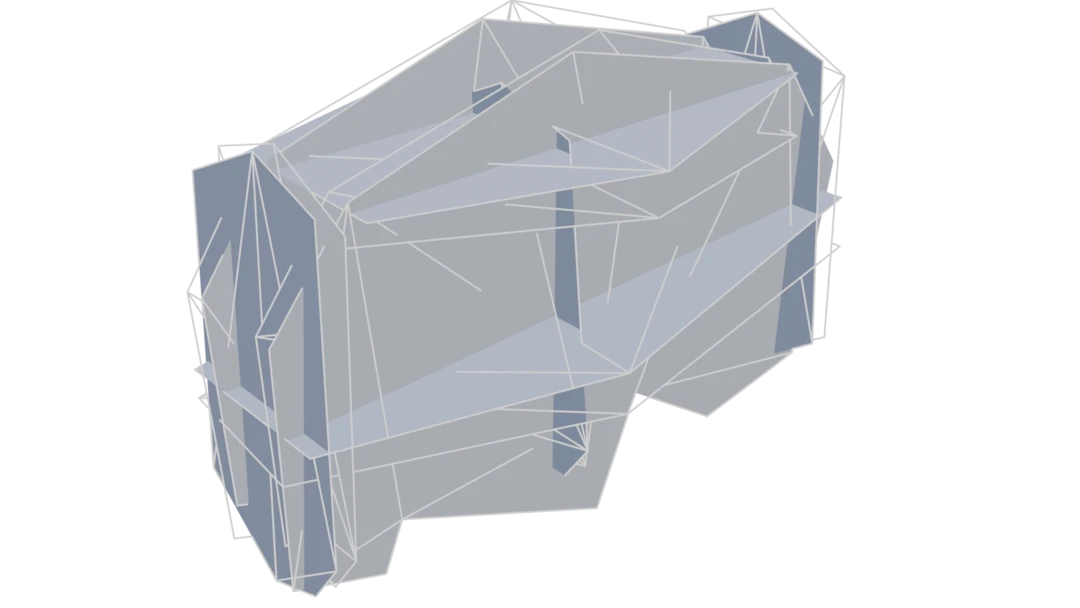
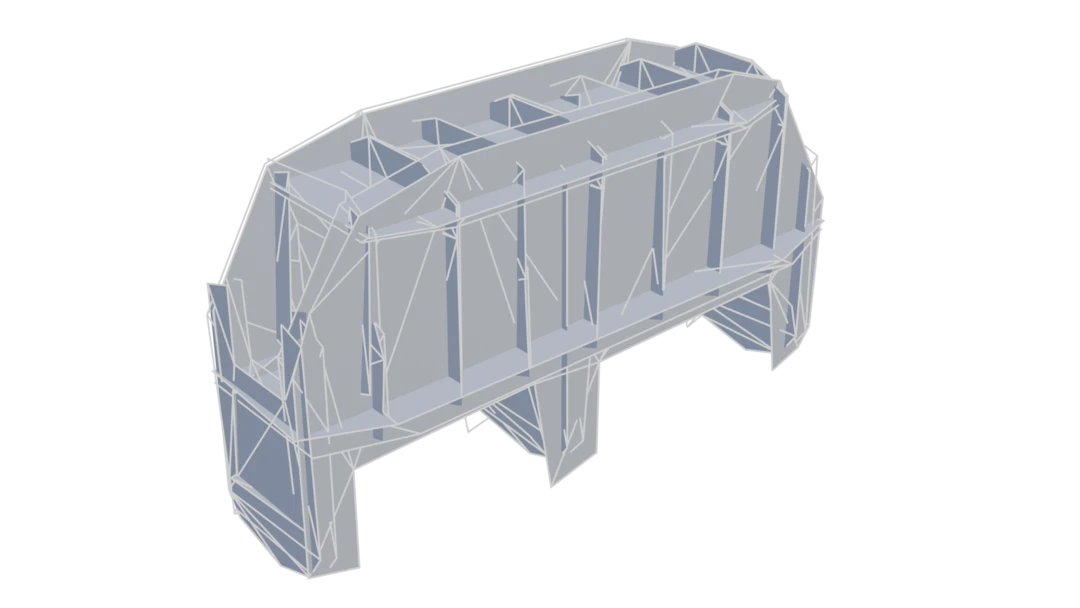
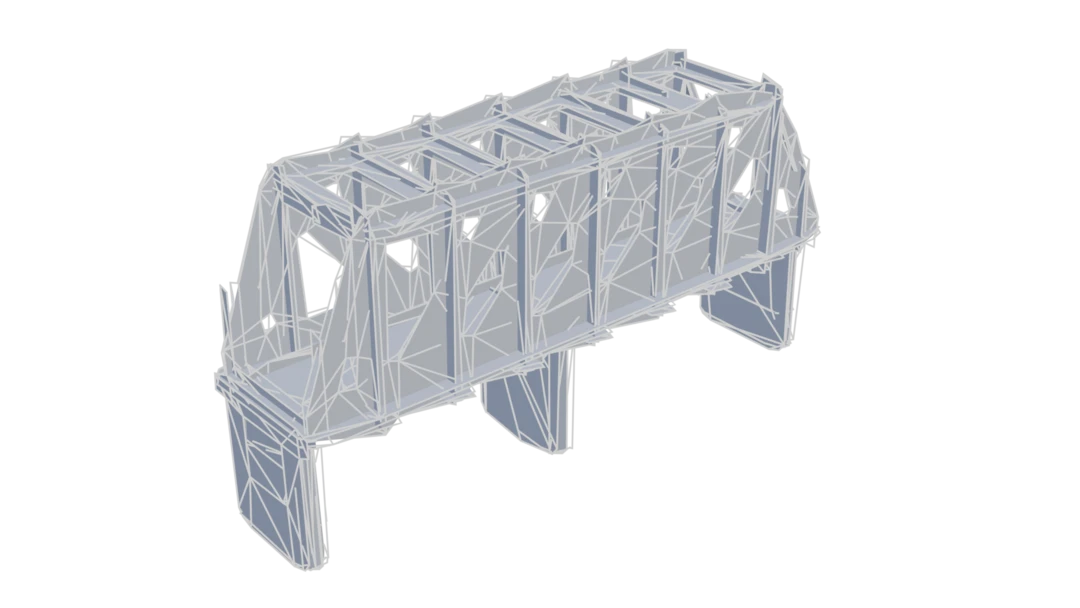
Once we are satisfied with how the planes are placed we can use GeometricComplexity parameter to balance overdraw versus triangle count. A high geometric complexity results in lower overdraw at the cost of increased triangle count. Let's try to generate a variant for our moderately dense billboard where BillboardDensity is 0.5 and MaxPlaneCount is 50.
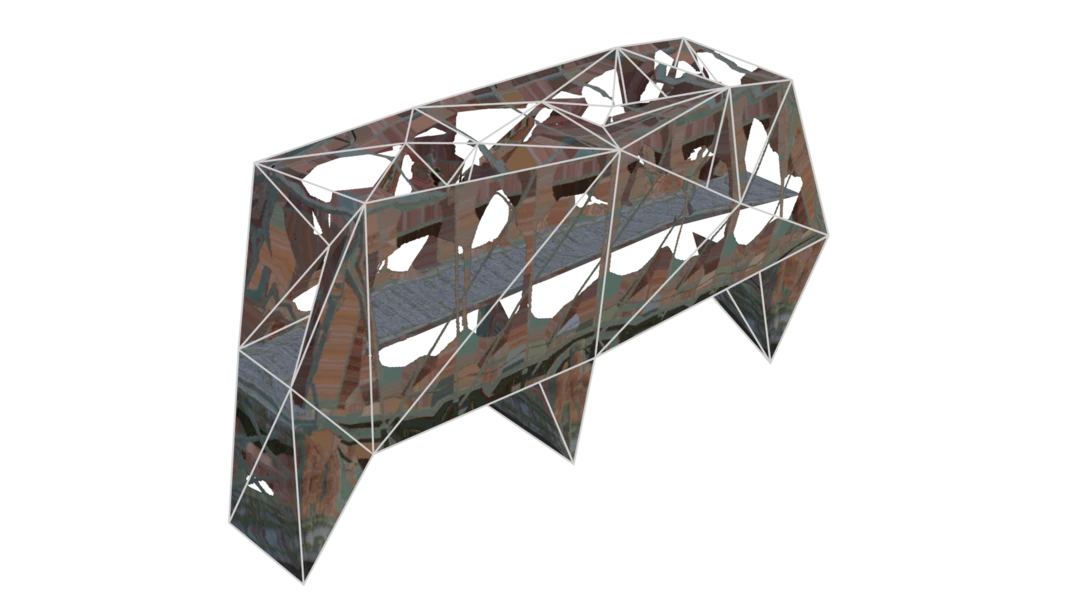
By setting geometric complexity close to 1.00 Billboard cloud: outer shell can be used to create a tight fitting impostor which follows the silhouette of the asset perfectly and can be rendered without transparency. Here we set it to 0.98, we get more triangles but the asset can now be rendered without shaders that use alpha clipping.
As we are using the texture's alpha channel to cut geometry close to the borders, the texture resolution determines how detailed it can be. In some cases we may need to increase TextureWidth and TextureHeight found under MappingImageSettings → OutputMaterialSettings to get geometry that cuts close to the original asset.
Result
Let us compare the different optimization methods we used in this blog. We can start with the methods that did not result in a good looking proxy model.
| Asset | Triangle count | Requires alpha clipping |
|---|---|---|
| Original | 11 k | No |
| Reduction | 1 k | No |
| Remeshing 100 pixels | 1 k | Depends |
| Remeshing 20 pixels | 130 | Yes |
Now let us look at the billboard proxies.
| Asset | Billboard Density | Max Plane Count | Geometric Complexity | Triangle count | Requires alpha clipping |
|---|---|---|---|---|---|
| Original | - | - | - | 11 k | No |
| Low plane billboard | 0.2 | 4 | 0.5 | 52 | Yes |
| Sparse billboard | 0.2 | 50 | 0.5 | 81 | Yes |
| Moderately dense billboard | 0.5 | 50 | 0.5 | 345 | Yes |
| Dense billboard | 0.8 | 50 | 0.5 | 1.2k | Yes |
| Complex billboard | 0.5 | 50 | 0.98 | 4.8 k | No |
For our use case, the moderately dense billboard provides a good balance of visual quality and performance. It has some minor graphical artifacts when viewed up close, but it is important to keep in mind that we will view this from far away.
What's next?
Once you have a suitable set of optimization settings for your assets, it is time to investigate how to automate your optimization pipeline. To help you get started, here is an example on how to script billboard cloud: outer shell impostors. This blog on how to port a pipeline to script can also come in handy.